Sunday, February 28, 2016

One Monthly Goal: Feb 2016 Sew Blocks Together, and Baste the Cultural Fusion Windmills Quilt - Done!


http://redletterquilts.blogspot.com/2016/02/omg-its-finished-party-february-2016.html


First I sewed my Cultural Fusion Windmill blocks together.....


Then I decided I wanted more length, so I looked for appropriate fabric in my boxes, sewed another row of blocks and added them to the quilt.  It is now about 45 * 60 inches!  
I decided to use solid Kona Black for the backing, so I had to sew two pieces together.  There is one seam in the backing...

My friend from the Saturday quilting group mentioned last week that she liked to spray baste, so I thought since I had won a can of 505 spray basting at the holiday party, that she could talk me thru how to do the procedure.  Instead, she generously offered to have me come to her place and she showed me how it was done!

To be honest, she did most of the work, but I did spray the last row...  There are no photos of me spraying, but really I did!

First we put the backing, batting and top on the table to be sure everything would fit and was flat.  The batting I brought already had a chunk cut out and the backing was much longer than it needed to be.  In her experience the batting and backing could pretty much be the same size as the top.  We cut to size after double checking the placement on the table.
After checking the size of everything, we folded the top and the batting up to expose the backing.
Then the backing was sprayed.

Then folding the corners back so the center was put down first, the batting was smoothed down on the backing.
Once that was smooth, the batting was sprayed.

Then the top was smoothed down.  Again the center was done first, then the corners.

At this point we put a few pins in the end that was done just to secure them.  Then the quilt was rearranged in the opposite direction (we didn't have access all around the table).  We folded the part that was done. folded the unsprayed top on top of that, and then pinned the batting so it was easier to handle.  Lifted it and sprayed the backing again.

More of the batting was smoothed and then sprayed, and more of the top was smoothed down.  Then we moved the quilt so the next row was visible and everything was repeated again.

I did the last row.  When I finished we put in a few more pins, flipped it over to double check how it looked on the back.  She unpinned and made one adjustment.  Then we folded the project up so I could take it home!

Here it is with all the blocks sewed together, basted, ready for me to quilt!
My friend was wearing a t-shirt and when she sprayed she sort of covered her face with the sleeve of the shirt so she wouldn't breath in the fumes.  When I sprayed I just held my breath, it wasn't a problem.  It was easy to control where the spray went.  I think I could really spray inside with open windows and it would be okay.

The brand of spray I used is called 505.  My friend usually uses a brand that she gets from Home Depot made by 3M.  The last time she was there they were out of that brand so she got this kind, she said it worked well for her. The key, she said, was to ask for something that would work with fabric.

I have the quilt laid out on the table in my sewing room now.

I forgot to keep track of my time on this month's goal.  It was one session to sew the blocks I had already sewn together.  A few hours I think.  Then I thought over night and made the extra blocks.  Could have been 4 to 6 hours, I'm not sure.  It only took about 40 minutes to press the pieces and to do the spray basting.

It was really nice of my new friend to help me out so much.

And super to have the One Monthly Goal to push me along with finishing things up!  If you would like to be in the fun, go to Red Letter Quilts OMG page!

http://redletterquilts.blogspot.com/2016/02/omg-its-finished-party-february-2016.html


Thursday, February 25, 2016

Winner: Sanibel Charm Squares

I popped over to Silly Mama Quilts, clicked to enter her drawing.  And I have been picked to win Sanibel Charm Squares by Moda!

I already know I'm going to put them together and then quilt with orange peel designs.  What fun this will be!

Her blog has links to many interesting projects and tutorials too!

Thank you Brooke!

Wednesday, February 24, 2016

Expense: Postage and Pieces for One More Stash Bee Block

I finally got to the post office to send the February Stash Bee off so I could have the tracking number.  It adds a little to the amount, but a lot for piece of mind!

I decided this morning to go ahead and make more petals so she has enough for a second block.  My background fabric is probably darker than she would like though so I left things unconnected...


It cost $2.94 to mail the original block, these second block pieces, and a few rough cut neutral charms to the February Hive 8 Stash Bee Queen!


Tuesday, February 23, 2016

Cozy FMQing Group

Cozy Quilts is rather near where I live.  In the past I have attended the demonstrations for piecing of her quilts featuring precuts.  Those mornings are fun.  A new friend told me though about the FMQing group and invited me to meet her there.  My first session met on Super Bowl Sunday!

First Daniela (owner of Cozy Quilts) talked about what the group was, and then she showed the video to go with the second month challenge.

The FMQ group will have six monthly challenges and we were asked to practice the monthly design on a folded fat quarter of fabric.  The first design flyer was distributed too, and looked doable.  It's simply a loose loop.

Month One Design - Loops

I wasn't there for the instruction on this pattern but found some webpages with help:

Loop the Loop
https://www.youtube.com/watch?v=ZxLNuFiEhC0

Loopy Line
https://www.youtube.com/watch?v=89-5icE2m94&feature=youtu.be

Loops
https://www.youtube.com/watch?v=89-5icE2m94&feature=youtu.be

This design was as easy way to re-start FMQing.  It's a forgiving pattern, easy enough to do with my sewing ability.  Not one of my favorite ones to do, it's too wandering or something.

Front
Back CLick to enlarge

Front  Click to enlarge


Month Two Design - Hearts

Heart FMQing Video - This is the video Daniela showed in the workshop
http://blog.amandamurphydesign.com/free-motion-quilting-ideas-how-to-quilt-hearts-free-tutorial/

Heart Animation of the FMQing that I found
https://www.youtube.com/watch?v=dmbErhF85a4

Cute quilt - was how I found the Amanda Murphy Video!
Heart Quilt with Scalloped Edges
http://createinthesticks.blogspot.com/2015/02/love-you-to-pieces.html
Continuous Bias Binding Tutorial - Linked here to remind me to read later...
http://blog.amandamurphydesign.com/continuous-bias-binding-tutoria/
This design took several sessions for me to complete.  I'm not sure if the fabric I'm sewing on is cotton, it's pretty flimsy, but I'm using the batting I have used before.  The thread kept breaking apart so I switched to a new roll of thread (Aurifil 40 black from LeahDay), then I changed to a new needle.  The thread then was sort of coming unwound and would bunch up on the machine.  So there are a lot of mostly hidden stops and starts.  I added loops to the outside to fill out the fabric with stitches as it was too difficult to get hearts to the very edge.  I'm not sure if my problems were caused by the fabric, the thread, the needle or all by me.  I'll have to sew something else to check things out.

This is a pretty design, but I'm not sure it will be something I do on a full sized quilt as it took so much time to sew!

Front
Back Click to enlarge


Front CLick to enlarge

Some of the Cozy Quilts FMQing members had attended the first month and they were given an opportunity to show their month one FMQing homework, then everyone was able to share any FMQing they wanted to.  The abilities and skill levels vary greatly, but it was very interesting to see. Cozy Quilt coupons toward discounts were handed out for attending, doing homework and sharing. They are cumulative so at the end of the six months one could get a very nice discount (if one could remember to save all the coupons). I think it could go up to 35%!

Also, at the end of the six months, there is going to be a QAYG project that we are supposed to make with parts of the practice pieces.  I'm unclear as I type this what the project will be, but it involves cutting out the best pieces of quilting in each so there is an 8 inch block used from each month and then joining those pieces together to make something. It will be interesting and a new technique, but I hate wasting the rest of the quilting pieces...  : (

Originally I was going to use different pieces of fabric that I had gotten from my once a month sewing together group.  In fact I spent most of last Saturday cutting fabric to make the six sandwiches that I would need for the Cozy FMQing practice and project.

Oh, for the sake of being complete, let me drop back in time.

I stayed up late Friday night to finish putting together my Cultural Fusion windmill top, thinking I would then use Saturday for basting it on their terrific tables.  I replicated the order the class had suggested, but now see there are a lot of darks that make a rectangle shape.  I see it but am not going to pick apart.  Next time I plan to remember to convert the photo in grays trick to double check placement of things.

But then I realized that I didn't have the backing planned.  I went thru my fabrics and found the ones I had purchased in NY with the friend who will be receiving the quilt as a surprise gift.  I washed the pieces of fabric, folded them then went to Saturday group.

Discovered once I opened the fabric up that there was a flaw in the piece. I hadn't planned on piecing the back, so discarded the idea of basting the quilt during my group time there.


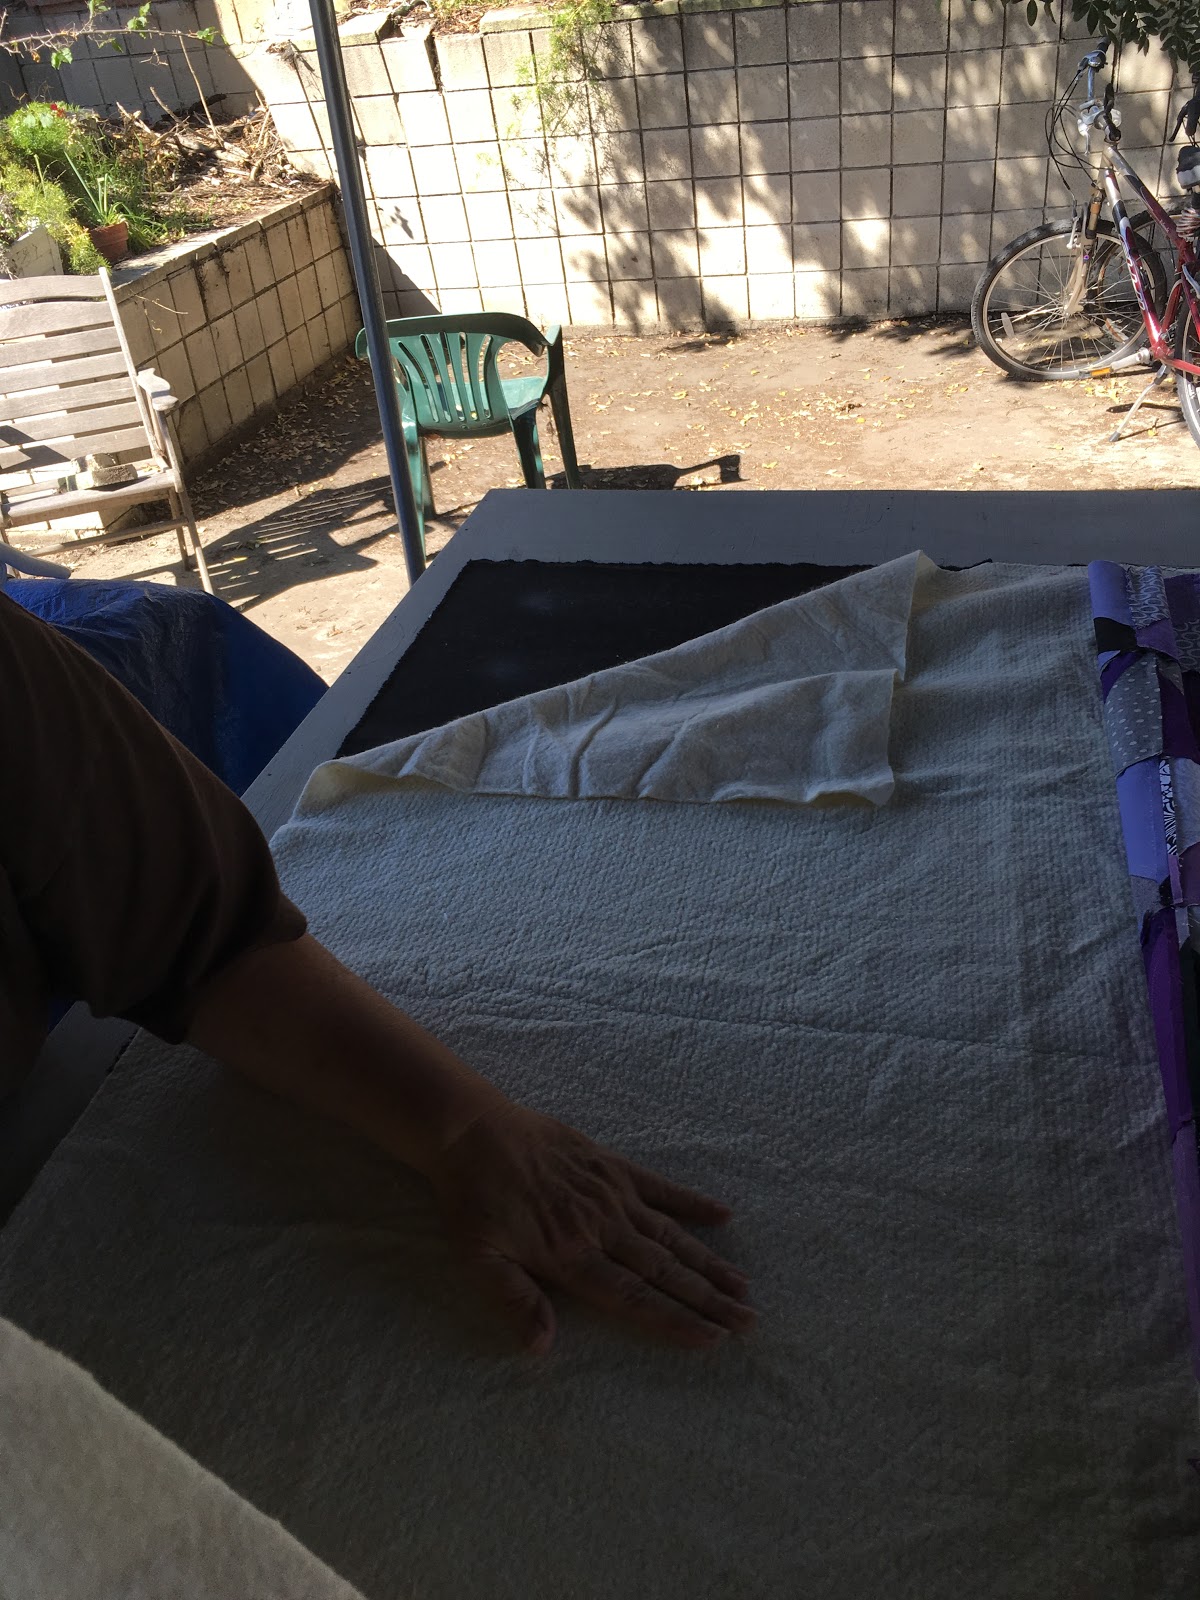
So instead, I spent time putting together fabric for the six sandwiches the Cozy FMQing group. (See I got back to that finally!) Someone in the group had boxes of lovely fabric she was donating, that I picked from to go along with two pieces of patterned pieces I had 'won' from the group.  I cut the batting I had brought for the windmills, and made sandwiches.


Once I was home though, I didn't like the way the pieces looked together, so decided I could instead use some not quite quilt shop quality cotton fabric that I had picked up from a give away table at adult ed, and then the front and the back for all the practice blocks would be the same. Added: I'm using black thread so I can see what I'm doing and learn from mistakes!

So now I cut that fabric up to make six sandwiches!  I will have the same fabric on both sides, and even have some left over fabric that I can use for binding or sashing if needed.

I put the images of the first two blocks toward the front of this post.  They can be clicked and enlarged to see the stitching. I'll share them at the next meeting as my homework for the group.

So now I need to figure out the backing of the Cultural Fusion Windmill project and get that basted before the end of the month for my February OMG!

I guess I'm skipping the Facets QAL and not sure of the Hazel quilt.  I had fun in Hollywood last week and am having trouble switching back to bookkeeping that I need to do in preparation for the taxes!  I'd better do that before adding any more sewing to my life!

I did finally start an adult education woodworking class - semester long.  So far we have just been learning where things are in the classroom and last Monday (second class) the instructor talked about safety and showed us how to turn on and off a few of the machines.
This is a planer, used to make the wood thinner.
This is an edger, used to smooth the sides.


And on Fridays I'm adding a 30 minute class of Zumba Gold to my schedule!  I've attended a few sessions, fun excuse to meet a friend I do not see very often.  We meet at a library - I was early last week so bought a bunch of books that I hope somehow to read each evening before sleeping!

The top two books were given to me to read, the rest are from the library sale.

Friday, February 19, 2016

Polaroid Blocks

Here are the fronts.

I made the bottom block first.  The second one (the top one) squared up better as I pressed the pieces so the vertical pieces were facing up.  That made it easier to sew the block into the background as the fabric was not as bumpy.  It also helped to off set the photos with different widths of sashing. 

Here are the backs.
It makes a difference how one sends things to Germany.  The first way I was going to send would have cost over $30!

I ended up putting everything in a plastic bag in a regular envelope.


When I mailed the blocks I included the deer block that I made earlier as Katrin had said she liked it 'as is'.  I'm sure I have more of the grey fabric, will send along later once I find it!

Stash Bee 2016 Hive 8 - February Block

This month the Stash Bee block required single sided fusible paper and turned out to be a pretty easy block to make.

I double checked my fabrics with the queen bee ahead of time. 

She wanted each peel part to have summer jewel colors: citrus, aqua, purples, greens. and the background to be different black on white fabric.

I addition to Renae's notes I found this Missouri Star tutorial to be helpful in making the block.

I traced the provided design on the fusible paper and pinned that to the fabric.

After sewing on the line I trimmed the fabric.  Then cut a slit in the fusible to turn the design right side out. Use a chop stick to poke the tip out and fingers to roll the sides so the parts are even.
February Block - showing the pieces of the block before I turned the pieces right side out.

Then you check to be sure there is 1/4 inch from the corners, press the pieces down.
Renae asked us to sew the pieces down IF we had thread the same color at the pieces (which I didn't have).


The block I made to keep to test the directions, in polka dots! It was easy to sew the peel pieces down.


Play with Me QAL: 02-2016 Nine Men's Morris

I have finished my second block for the Play with Me Quilt Along!
http://alidatweloqdesigns.blogspot.com/p/play-with-me-qal.html  

This month the board game is Nine Men's Morris, a game my family learned how to play a long time ago during a visit to Plimoth Plantation. What a wonderful time that was for us! So many happy memories. DH was writing an article in the hotel room, so I would take our pre-first grade son to the area and we would spend the morning with the Pilgrims or the Indians. Then we would go back to civilization and have lunch and often get books to read and learn more before returning. On our very last day there, DS was pretending to make butter, and I heard a man's voice speaking Swedish behind me. But it wasn't just any man's voice, it was my friend, B, with his little daughter A and wife C! A is just a year or so ahead of our son, and at that time she didn't know English.  But we-all spent the day together and by the end, our little son was saying a few words in Swedish.  Titta! Titta! [Look!] He said pointing to a maple leaf he had made swirl to the ground. Magical.  Neither of us knew the other would be on the East coast, it was a total and happy surprise.  It was a wonderful summer.  I remember we mailed our clothes home as DS collected so many unusual rocks at the seaside, we had to make room in our luggage to bring the rocks back!  I know just where those rocks are now in the garage...


Okay, well back to this block.  This month Alida had us follow a foundation paper piecing plan.  Her directions were well thought out an explained.  

I cut up old denim pants to make the board game block and then added a back with a zipper to make a pillow.


Alida's directions are very clear.  Here are some photos showing my progress with the block...

Sections sewn and the layout diagram.

Sections sewn - front view
Sections sewn together - back view

Pre borders
with Borders

This is my second game pillow, and we are so pleased with how they look together on our sofas!


Next month the block will be backgammon and the technique will be reverse applique.